Saturday, June 15, 2013

Preschool Class End of Year Gift ~ Pinwheel

I can't believe it's June already!  With June comes the end of year gifts which usually cost a small fortune.  Not this year!  

My daughter Lilianna is enrolled in a 2 year old preschool class.  She absolutely loves it and will be sad when she doesn't get to see her classmates and teachers over the summer.  I came up with this idea (like most of my ideas) cruising down the aisles of The Dollar Tree.


It's a pinwheel with a tag that says:
 "I hope your summer "blows" you away!"  
Yes, its one of those perfectly Pinterest sayings but I think it fits nicely here, lol!  

Here is what you'll need:


Pinwheel (bought mine at Dollar Tree)
2" circle punch
 (If you don't have a 2" circle punch, you can cut the tag out in a square shape.)
1/2" hole punch
I designed these tags using MS Word or you can print them here:  printable tag
White Cardstock


It's an easy and inexpensive project that your child's classmates are sure to love!  

Happy Summer!!

My girl, Lilianna!
Don't mind my yard, today is clean up day!!


Sunday, April 21, 2013

LEGO guy backpack ~ Birthday Party Activity~ under $2 per guest!

My son Thomas is a LEGO fanatic so naturally he picked LEGO as the theme for his 8th birthday party.  As the party activity, he and his friends made LEGO guy backpacks which could also double as a LEGO storage bag.  The boys used their creative juices to create a LEGO guy as distinct as they are.

Here is what you'll need to create these one of a kind LEGO storage bags:

Drawstring Backpacks (I bought mine from Dollar Tree)
Yellow Felt
LEGO guy template (I googled "LEGO guy template" and a bunch came up)
E~6000 glue
Tacky glue
black felt
white puff paint
Scissors


First I cut out all the LEGO guy heads using the yellow felt


Then I cut eyes that were 1" circles from the black felt

Put a dot of white puff paint in the upper edge of the eye.


Cut small strips of black felt to be used as the mouth and/or eyebrows 


using the E~ 6000 glue, glue the yellow felt LEGO guy heads to the backpack.  I found that the E~6000 glue works the best to bind the felt to the backpack.  


When the party guests are ready to create their LEGO guy backpack, give them the tacky glue to glue their mouth and eyebrows to the LEGO guy head.  

Here is my 2 year old daughter's LEGO guy LOL...

and some of our guests creations


The boys had a blast creating their very own LEGO guy backpack.  And at less then $2 each backpack, it was a very cost effective party activity!  Let me know how yours turned out by commenting below...


Thursday, March 7, 2013

Mickey Mouse Clubhouse Birthday Party Ideas


I know I'm not the only one who looks at *anything* red and imagines how it can be turned into a super adorable Mickey Mouse inspired creation.  Please, tell me that I'm not the only one....  Anyhow, I can not believe that I didn't think of this idea sooner.....Red Solo cups as Mickey's pants!!  So inexpensive and really easy to do!  Can be used as party cups or as the base of a treat bag.   


While cruising the aisles of the Dollar Tree last month, I came across these little plastic storage bins.  At the time, I did not know what I would do with them.  My inner Dollar Tree voice said...  "at 4 for a dollar, buy them now and figure it out later..."  So I bought 6 packs of 4.   I'm so glad that I did!


What you'll need


I am almost embarrassed to actually type out instructions for this...  Using a 1" circle paper punch, punch out two white circles out of card stock.  Using a low temp hot glue gun,  glue the buttons onto the cup.  Done.  Seriously, how easy is that!!


 I found black striped paper straws at Michaels for $2.  I punched out Mickey heads using my Mickey paper punch and black card stock.  I used a tiny drop of hot glue to glue the Mickey Heads about an inch down the straw.   

Finished product, how cute?!


Onto the base of the treat bag: Just like the cups, hot glue the 1" circles to the front of the container.  Fill with candy and tie with a yellow ribbon.  I added a Mickey head punch-out to the bow.

Finished treat bag :)


I made these Mickey inspired cupcakes using half of an Oreo and two mini Oreos as the ears.  Red icing and two white chocolate chips as the buttons.  So simple.  

Let me know what you think, comment below!


Monday, March 4, 2013

Chalkboard Countdown Calendar Using a Dollar Frame from Michaels


 This $1 picture frame turned countdown calendar was born from my love of making new uses out of everyday items.  In my house, we are always counting down to *something* whether it be our next Disney World vacation or a birthday.  This countdown calendar is inexpensive to make and so much fun to embellish to your personal taste.  


Here is what you'll need to create this adorable project:

~ 3.7" X 3.7" unfinished wooden frame from Michaels ($1)

~chalkboard paint

~Mod Podge

~2 foam brushes

~ a piece of scrap Fabric

~white fabric Puff Paint

~wax paper

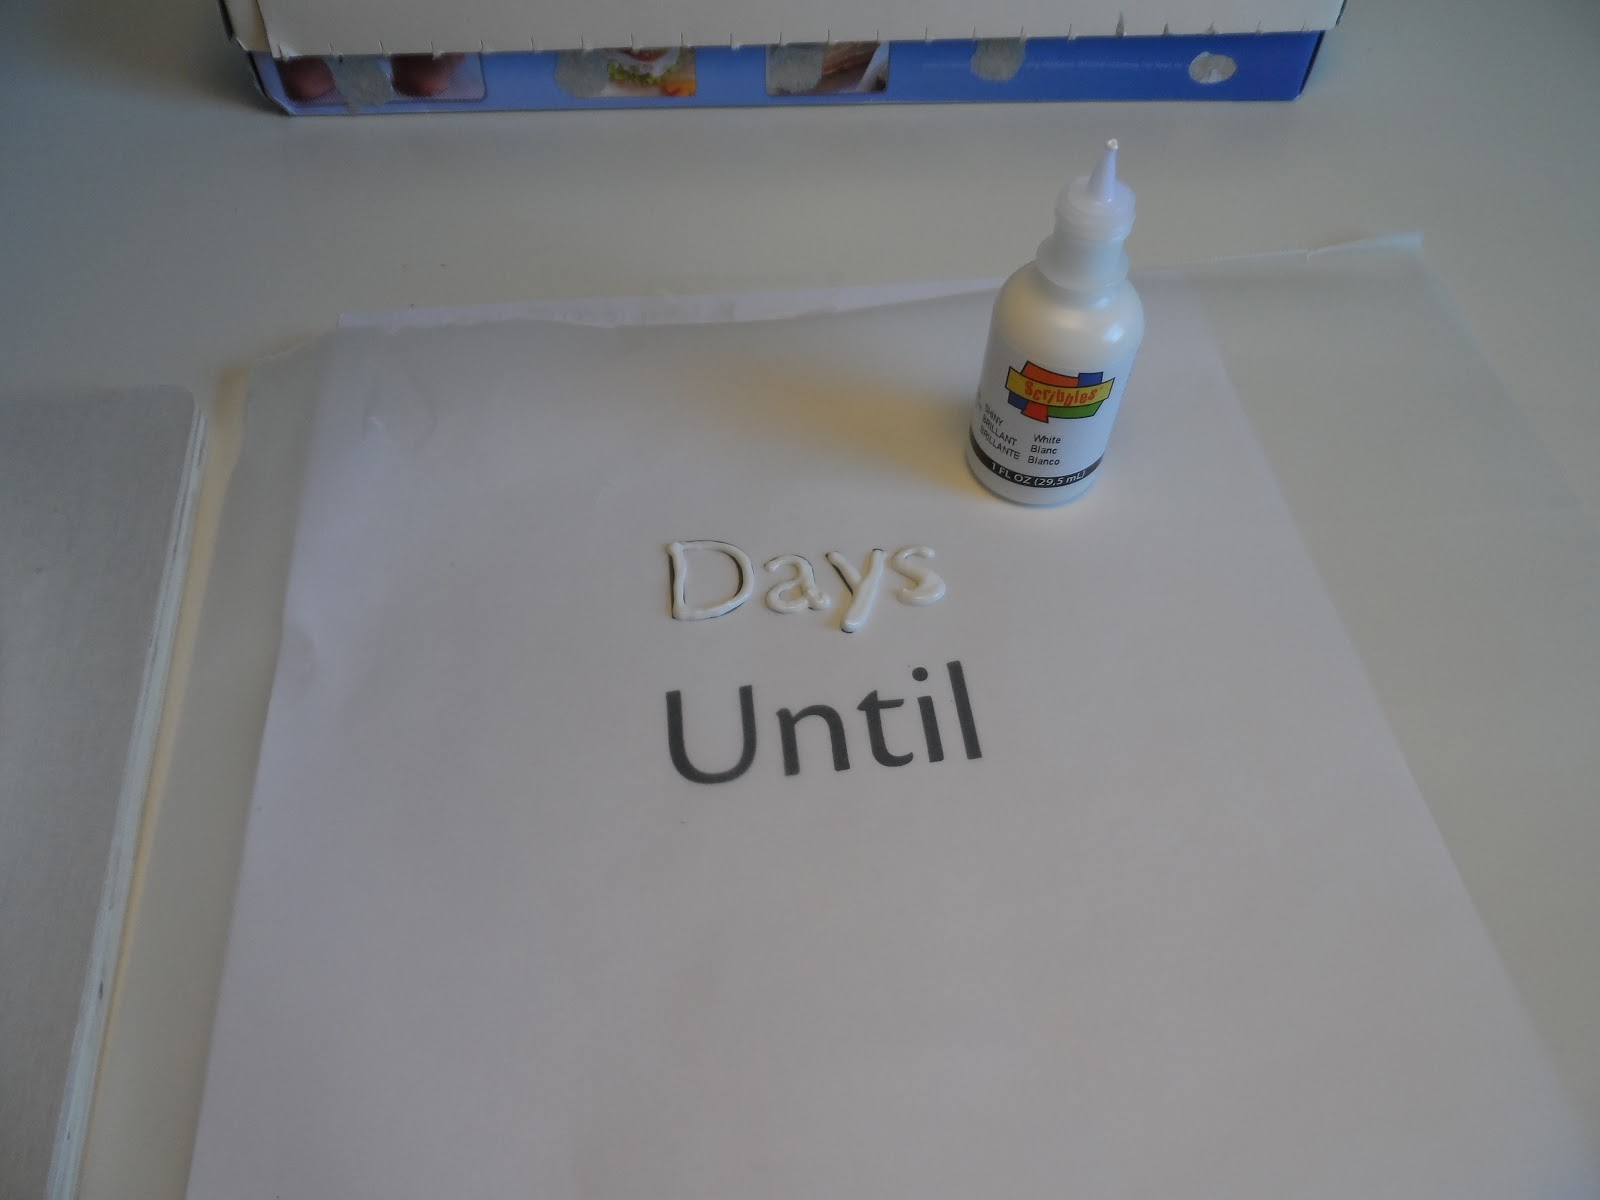
~ "Days Until" template ~Download HERE or make your own using MS Word (change font    size to 100).  The Font I used of the "girls weekend" countdown calendar is called AR Bonnie in MS Word.

~ embellishments


 Paint the frame with the chalkboard paint.  The chalkboard paint I used needed 3 coats.  Let the paint dry in between coats.


Tape the "days until" template (download above) to the table and put the sheet of wax paper over it.  Trace the letters using the puff paint.  I have been itching to use this technique from the moment I saw it on Pinterest!   This idea is from the blog Virginia and Charlie.  


 The puff paint has a lot of bubbles in it so if you make a mistake, just move the wax paper over and try again.  Let dry for at least an hour.  You might want to do this step the night before you plan on starting this project to insure it is completely dry.


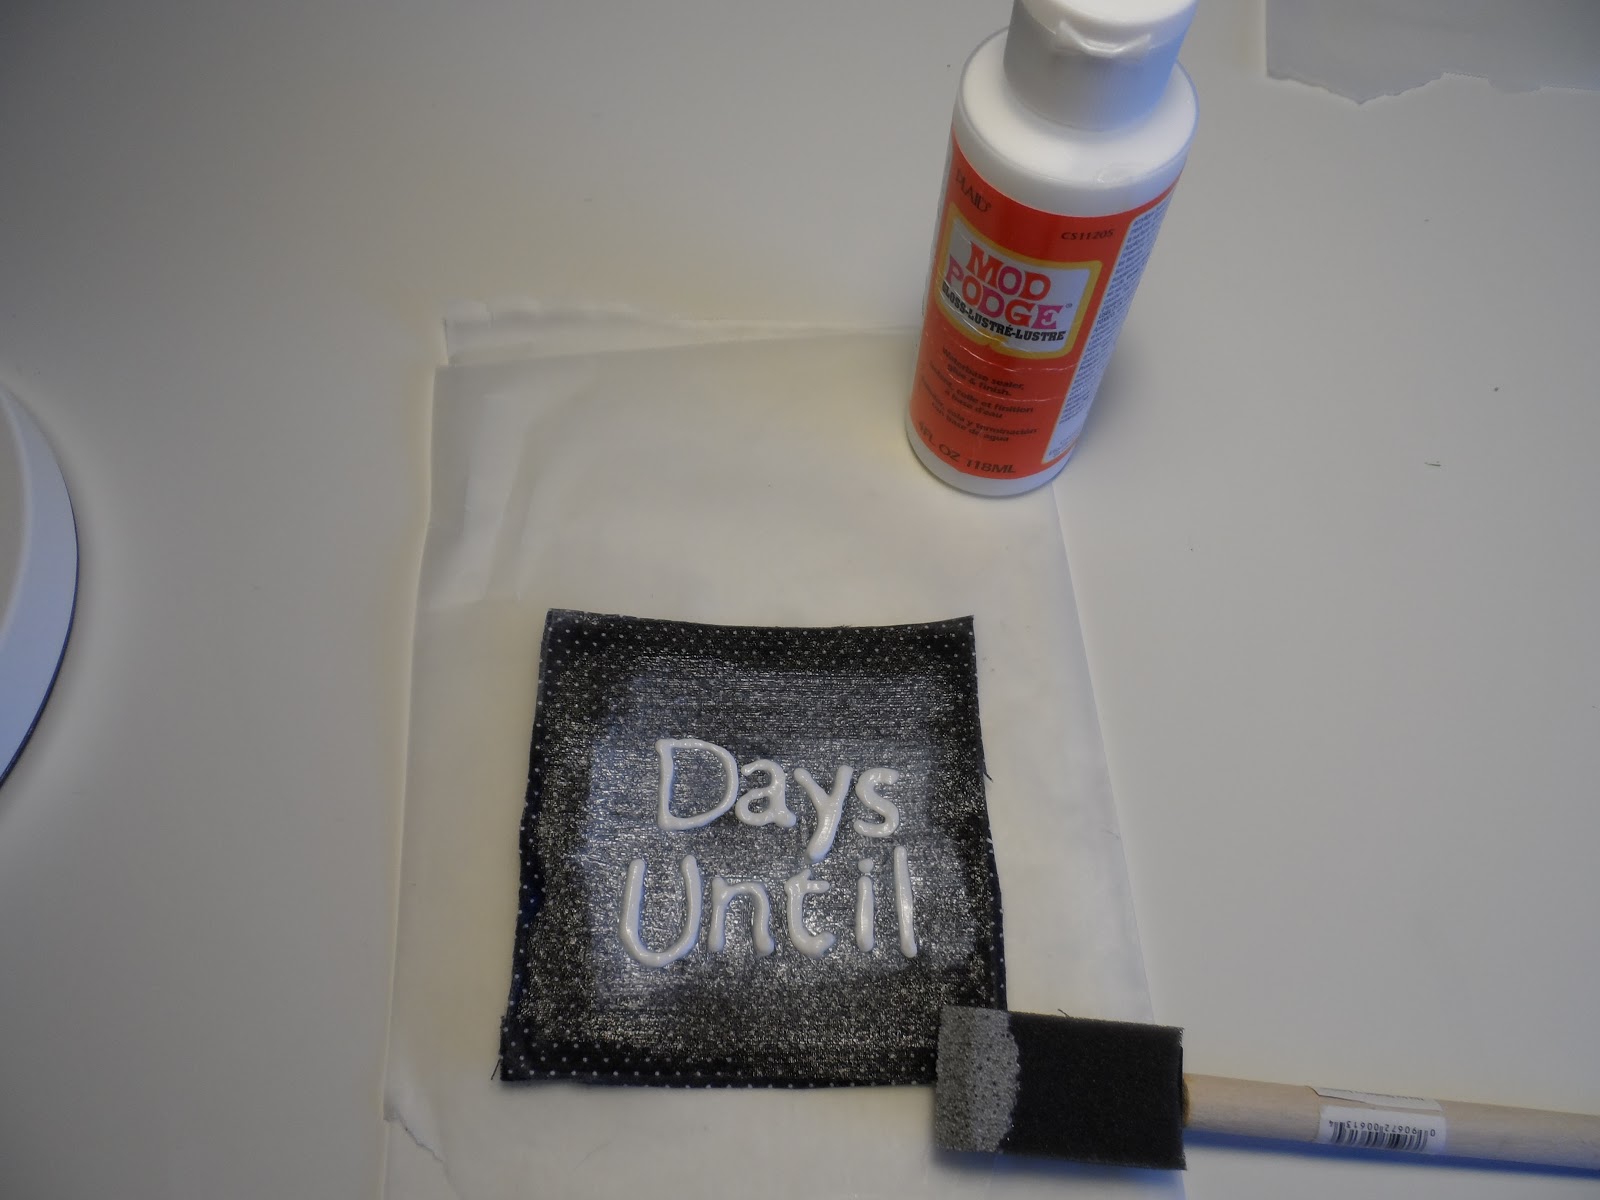
Using the Mod Podge, glue the scrap fabric to the cardboard square that came with the frame.


 Put a layer of Mod Podge over the front of the fabric and let dry.


 Once everything is dry, you're ready to assemble your countdown calendar.  Carefully peel the puff paint from the wax paper.  Add another layer of Mod Podge to adhere the letters to the scrap fabric.  


 Once the lettering is in place, Mod Podge over everything to seal it all together.  Trust me, this is an important step if you have a toddler since I found my daughter trying to (unsuccessfully) pick the letters off of it when I was done.  Once the Mod Podge is dry, trim the edges of the fabric and place back into the frame.  


Now, have fun embellishing!  Don't forget to pay attention to where the hole in the back is to stand up the frame (I didn't do this and now I can't use that little wooden dowel that comes with the frame to stand it up!  You live and learn, right?)

Thank you for visiting!  Don't forget to SUBSCRIBE!


Wednesday, February 27, 2013

Minnie Mouse Inspired Sneakers

Minnie Mouse Inspired Sneakers


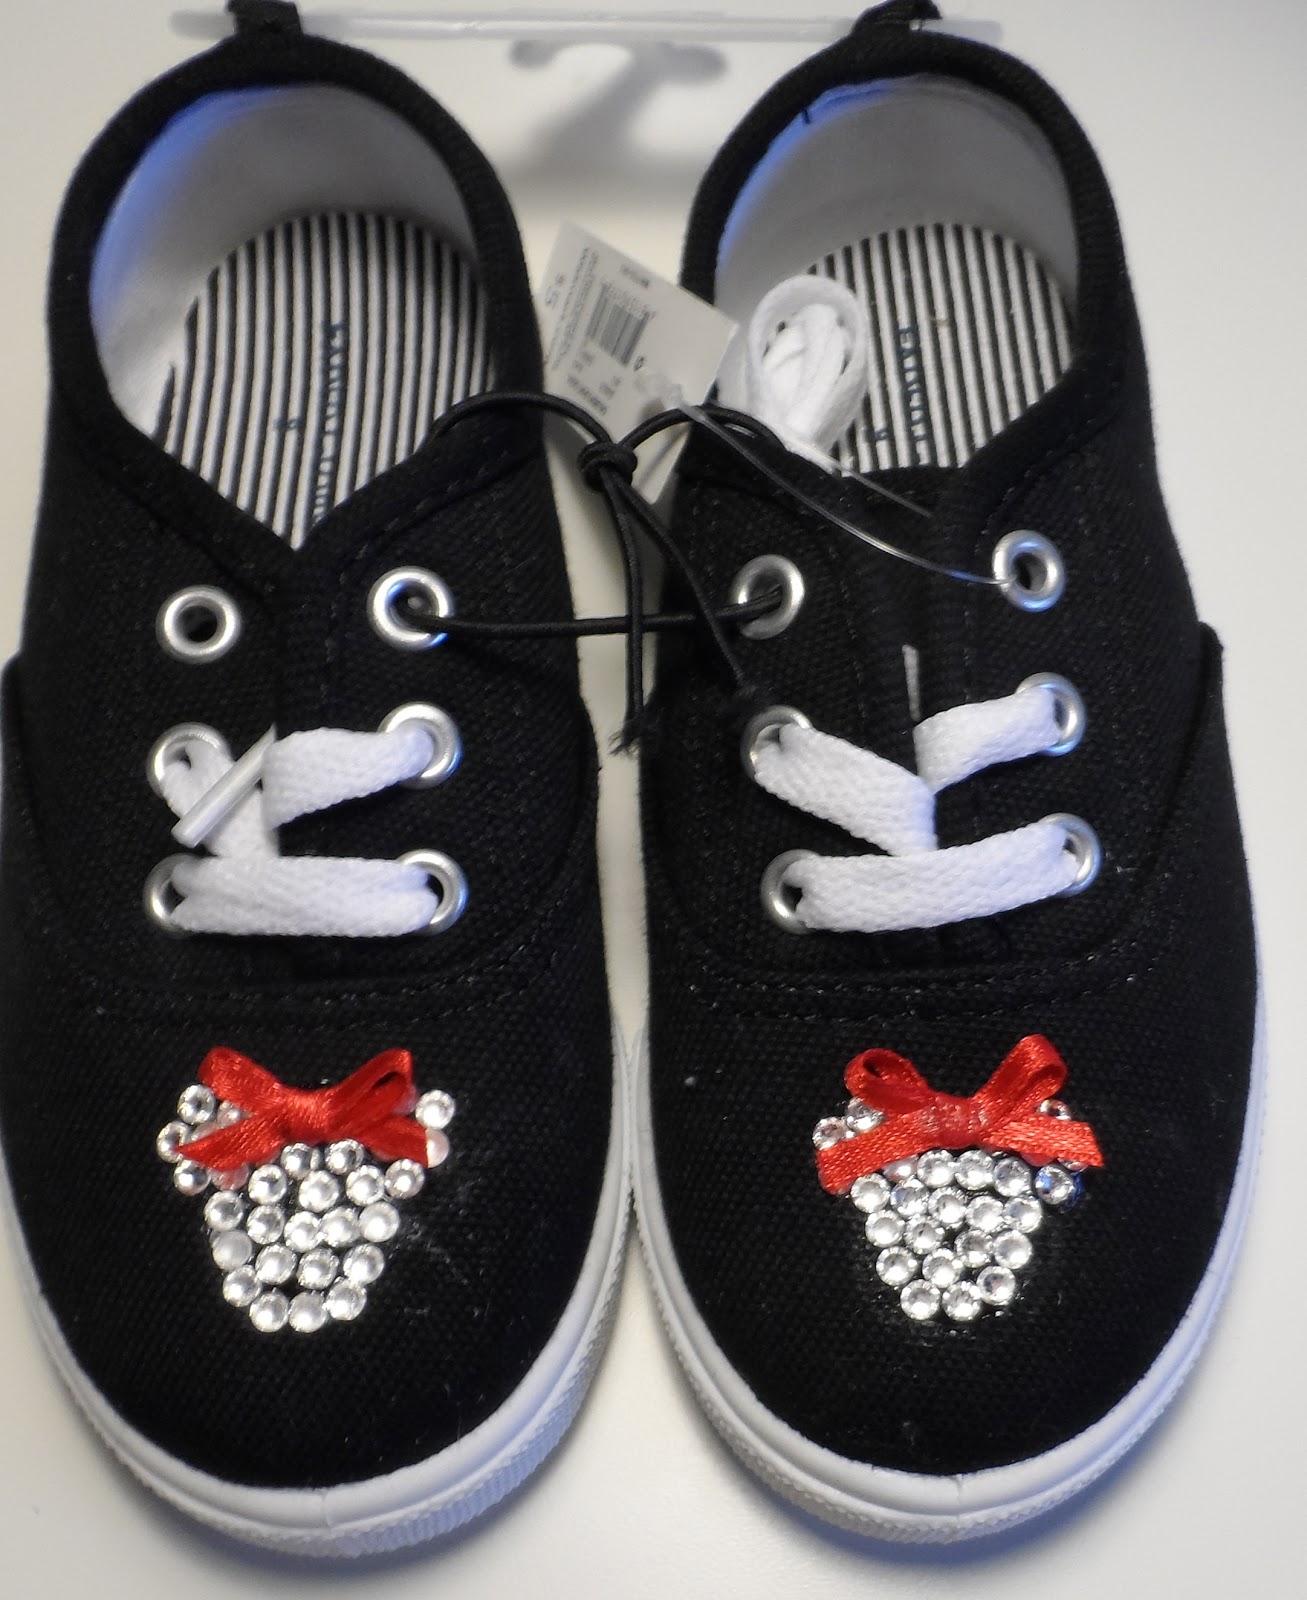
Like I said in my "welcome" post,  my family is Disney World obsessed!  I LOVE creating unique items for my kids to wear to the theme parks.  These sneakers, that I made for my 2 year old daughter, Lilianna, seemed to catch everyone's eye... especially Disney cast members.  For me, when a cast member asked about them it was the greatest compliment! They see some of the best Disney inspired creations on the planet!

What you'll need:

Pair of canvas sneakers ~ I bought mine at Walmart for $5

Swarovski crystal stones  ~ I used size 16ss but you can use whatever size you have on hand

Mickey head template ~ I have a Mickey head paper punch but you can find Mickey head templates online like this one from Milliepie's Musings 

E-6000 glue 

1/8" Red Ribbon (for Minnie sneakers only)

a jewel setter tool (with a wax tip so stones can stick to it for easy placement)

a pencil and a scissor 

Let's get started!  First you trace the Mickey/Minnie head with a pencil wherever you want the Minnie head:


Next, in small sections use the E-6000 to glue the stones to the sneaker using the Mickey/Minnie head as your guide.  Use the jewel setter tool to help with placement of the stones.  You'll have to move the stones around to get the shape you want.  The glue doesn't dry right away which is helpful when shaping your Mickey/Minnie head.  The jewel setter tool has wax on the top so you'll notice that the stones have a waxy film on them which easily wipes off when the glue is completely dry.  


Once you have your Mickey/Minnie head is filled in completely with the stones, let dry for about 20 minutes .  

If you are making Mickey sneakers, you're done!!  


If making Minnie sneakers, take the 1/8" ribbon and make two small bows.  Make sure they are the same size.  


Now you are going to glue the bows to Minnie's head.  And there you have it!  

How adorable?!

I added yellow curly laces and red with white polka dot shoe bows but you can personalize how ever you like.  Here are some different options:


I bought these "shoe bows" on Etsy.  They are just repurposed hair bows.

I bought these yellow curly laces on Etsy also.


Lilianna with Mickey!

Jack of all crafts, master of none...

Welcome to my blog!  I consider myself a pretty serious crafter.  I love trying out different ideas and making them my own.  In this blog,  I will be sharing with you some of my favorite crafts using inexpensive supplies.  Most of my supplies come from the dollar store or Walmart.  Seriously, who doesn't LOVE the Dollar Tree?  Ok, so my husband doesn't *love* the Dollar Tree …. He doesn't understand how I can spend at least $50 at a DOLLAR store... EVERY.  SINGLE.  TIME.  To be honest, I really don't get it either but that's what happens.  If you are a dollar store person like me then you know what I'm talking about.  A little bit about me: my name is Melissa.  I am a work-from-home mom to two great kids and married to my childhood sweetheart.  I have an Etsy shop called LittleLadyLilys where I sell Disney Princess and Disney Fairy inspired wand party favors.  We are a Disney World obsessed family.   If I'm not in Disney World, I'm planning the next trip there.  A Disney World vacation is always "in the works" at our house.   You'll see that a lot of my crafts are Disney inspired.  There is something that warms my heart about creating something for my kids to wear or use  at the theme parks.  Thanks for visiting and don't forget to subscribe!