

This $1 picture frame turned countdown calendar was born from my love of making new uses out of everyday items. In my house, we are always counting down to *something* whether it be our next Disney World vacation or a birthday. This countdown calendar is inexpensive to make and so much fun to embellish to your personal taste.


Here is what you'll need to create this adorable project:
~ 3.7" X 3.7" unfinished wooden frame from Michaels ($1)
~chalkboard paint
~Mod Podge
~2 foam brushes
~ a piece of scrap Fabric
~white fabric Puff Paint
~wax paper
~ "Days Until" template ~Download HERE or make your own using MS Word (change font size to 100). The Font I used of the "girls weekend" countdown calendar is called AR Bonnie in MS Word.
~ embellishments
 |
Paint the frame with the chalkboard paint. The chalkboard paint I used needed 3 coats. Let the paint dry in between coats.
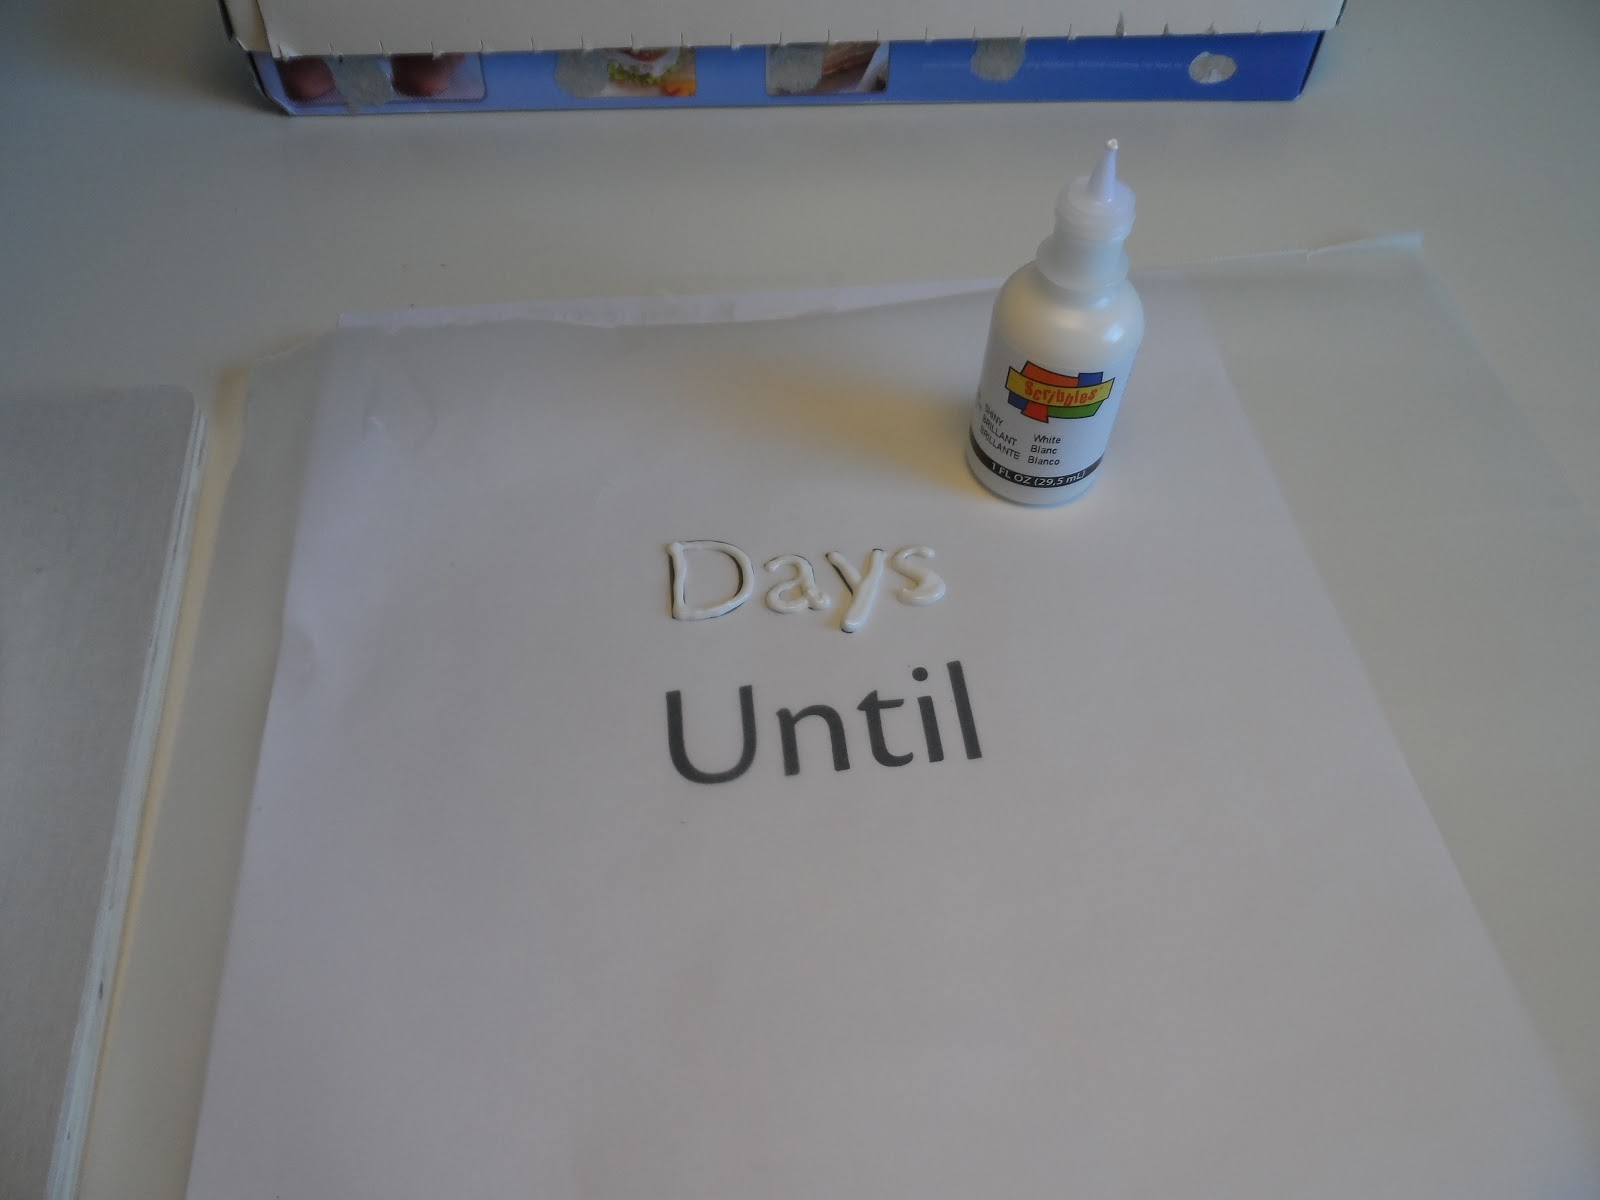
Tape the "days until" template (download above) to the table and put the sheet of wax paper over it. Trace the letters using the puff paint. I have been itching to use this technique from the moment I saw it on Pinterest! This idea is from the blog Virginia and Charlie.


The puff paint has a lot of bubbles in it so if you make a mistake, just move the wax paper over and try again. Let dry for at least an hour. You might want to do this step the night before you plan on starting this project to insure it is completely dry.


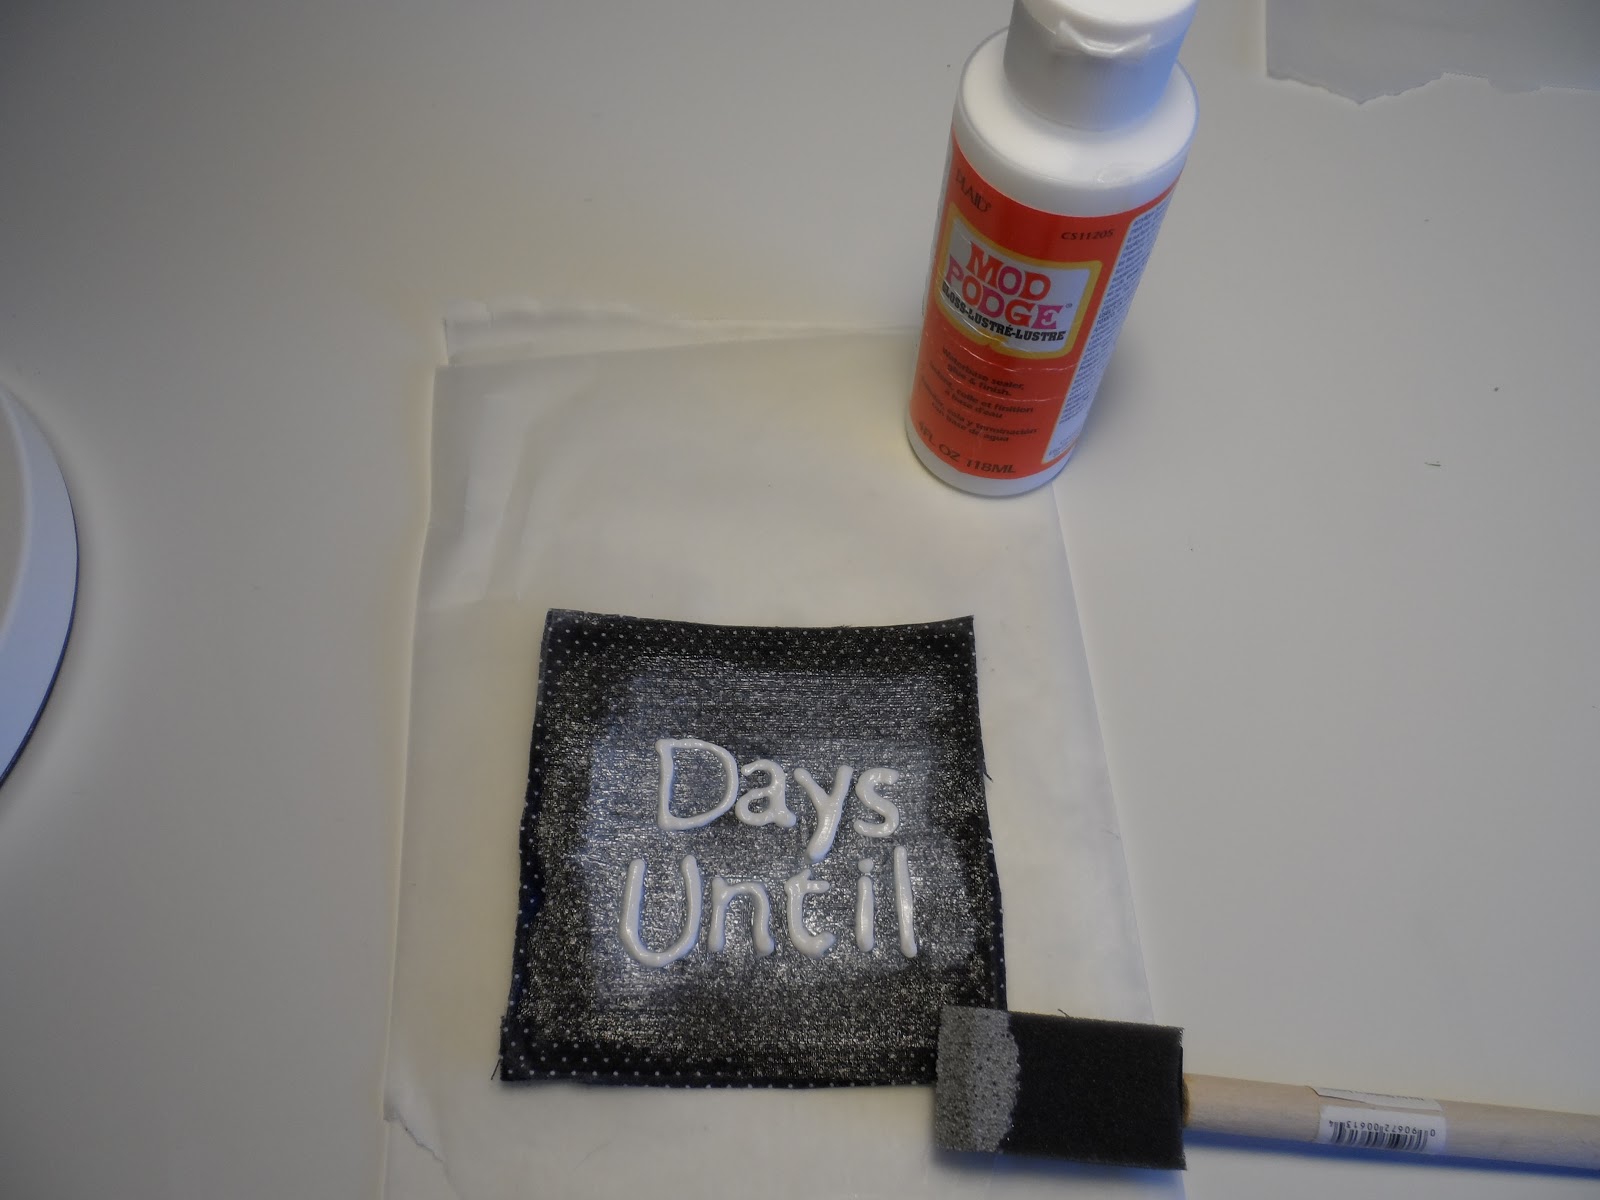
Using the Mod Podge, glue the scrap fabric to the cardboard square that came with the frame.

Put a layer of Mod Podge over the front of the fabric and let dry.

Once everything is dry, you're ready to assemble your countdown calendar. Carefully peel the puff paint from the wax paper. Add another layer of Mod Podge to adhere the letters to the scrap fabric.
Once the lettering is in place, Mod Podge over everything to seal it all together. Trust me, this is an important step if you have a toddler since I found my daughter trying to (unsuccessfully) pick the letters off of it when I was done. Once the Mod Podge is dry, trim the edges of the fabric and place back into the frame.

Now, have fun embellishing! Don't forget to pay attention to where the hole in the back is to stand up the frame (I didn't do this and now I can't use that little wooden dowel that comes with the frame to stand it up! You live and learn, right?)
Thank you for visiting! Don't forget to SUBSCRIBE!

judi sabung ayam
ReplyDeleteOnce the lettering is in place, Mod Podge over everything to seal it all together
Bolavita - Situs Taruhan Bola | Live Casino | Sabung Ayam Online | Slot Games |Togel Online Aman Dan Terpercaya
ReplyDeleteMinimal Depo & WD Hanya IDR 50.000,-
Melayani Deposit Pulsa Telkomsel | XL | Gopay | OVO |LinkAja | DANA Serta Semua Bank Indonesia
Kontak :
• Livechat : http://159.89.197.59/
• Telegram : https://t.me/bolavita
• WA Bolavita : https://wa.me/+628122222995/
• Wechat : Bolavita
• Line : cs_bolavita